Showing posts with label dessert. Show all posts

Friday, October 5, 2012

Gluten Free Classic Vegan Pumpkin Pie (Dairy-free, Soy-free, Egg-free)

Today is the start of Canadian Thanksgiving weekend.  It is very much like the American counterpart, but we have it earlier in the year.  I haven't put much thought in our dinner this weekend yet, but I thought that I would get a start on dessert!

Lately, I have been having some health issues and bad acne.  To change things up, I decided to go soy, dairy, egg, chocolate (gasp!), and gluten-free for 6 weeks.  I'm happy to say that I've gotten used to my regime and am embracing the other delicious foods I can enjoy!


I decided to tackle the classic Thanksgiving favourite:  pumpkin pie.  First the crust had to be gluten and butter free.  Thanks to all the wonderful resources on the net, I lucked out with a delicious gluten-free crust  made with a blend of rice flour, potato starch, tapioca starch, sweet rice flour and xanthan gum.  In the world of gluten-free baking, this is a very standard mix of ingredients.  There is a science behind gluten-free baking where all the qualities of each different flour/starch combine to mimic wheat.  It was PERFECT on the first try!  The crust was flaky, crispy and it held the pumpkin filling beautifully.  

Next, the pumpkin pie filling had to be butter, milk and egg free.  I found an amazing one that all the kiddies loved and asked for breakfast the next day!  Again, the hard part is to find substitutes to replace the binding of eggs (use of cornstarch) and the creaminess of milk (use of coconut or almond milk).  The filling was very easy to whip up.  

I also take into consideration that this will not be exactly like the "regular ones", but still a very delicious dessert.  It will be one that everyone would like to try out of curiosity and then be pleasantly surprised at how yummy it is.  


Classic Vegan Pumpkin Pie

1 - 8-inch or 9-inch unbaked pie crust (wheat, gluten-free or storebought)
2 cups pureed pumpkin (or one 15-oz can)
1 cup plain nondairy milk (soy, almond, coconut)* 
3/4 cup sugar (I used 1/3 cup brown sugar, 1/3 cup white)
2 1/2 – 3 Tbsp cornstarch (I used 2 Tbsp arrowroot starch and 1 Tbsp cornstarch)
1 tsp cinnamon
1/2 tsp ground ginger
1/2 tsp salt
1/4 tsp ground cloves
1/4 tsp ground nutmeg (or freshly grated nutmeg, just estimate!)
vegan whipped topping, if desired**

Preheat oven to 350 degrees. Combine pumpkin, non-dairy milk, sugar, cornstarch, salt, and spices in a large bowl, and mix very well with an electric mixer (alternatively, you can combine these ingredients in a blender). Pour into unbaked pastry shell, and bake for about 60 minutes. The pie will still be jiggly when you take it out of the oven, but it will firm up as it cools. Cool completely on a cooling rack, cover with plastic wrap, and refrigerate for several hours or overnight before serving. Serve chilled and top with vegan whipped topping if desired.
* To be nut-free, I used Coconut Dream coconut beverage as it does not have a strong coconut flavour.  The original recipe states that almond milk will also produce great results.  Canned coconut milk will yield a rich and creamy pie but the flavor of the coconut will come through. Rice milk is not recommended as it is too thin for the nice creamy consistency.  


Have a safe and Happy Thanksgiving!

Enjoy!
Pin It

Friday, August 17, 2012

Half-Sugar Strawberry Rhubarb Crisp with Chia seeds - Whole Wheat or Gluten-Free

Growing up in a Chinese household during the 70's and 80's, my parents would predominantly cook Chinese meals for dinner.  Usually, we had the classic stir-fried vegetables with slices of meat and lots of fluffy white rice.  If we were lucky, we had ice cream for dessert.  How much we looked forward to hauling out that 4L/gallon bucket of Neapolitan (strawberry/vanilla/chocolate) ice cream!


What a contrast nowadays!  I guess I got tired of Asian food and wanted branch out.  Rhubarb is not what we ate growing up.  I have two rhubarb plants in my garden and this season, I have harvested and frozen enough to last the year!  It's mid-August and in my rural BC town, my rhubarb plants are still producing!  After playing around with Strawberry Rhubarb pie, I wanted to try a lower sugar version of Strawberry Rhubarb crisp.   

There are so many recipes out there but I wanted something super easy and not loaded with too much sugar and fat.  Of course, if you want to add more sugar and butter, be my guest!


This basic recipe uses whole wheat flour and half the amount of sugar compared to conventional recipes.  It got rave reviews in our household!  The kiddies wanted it for breakfast the next day.  I was worried that it would be too sour, but it wasn't for us.  Our strawberries were sweet, so that helped. 

For fun, I also made this gluten-free with great results.  Oats can be contaminated with gluten during processing, so if you are serving oats to guests who are gluten-sensitive, make sure they are certified gluten-free on the package. 

Instead of using whole wheat flour to thicken the filling, I mixed in chia seeds and arrowroot starch.  I bought a few scoops of chia seeds from the bulk organic section my grocery store to try.  Apparently, it has great thickening properties, extra fibre, and plant omega-3s, like flaxseed, according to the Globe and Mail.   I like to try different kinds of food... sometimes it's healthy...sometimes not! 


In the lower left corner in the picture above, you can see the chia seeds in the sauce.  The chia seeds swell up, like tiny tapioca pearls.  They absorb the extra liquid and I don't notice a difference in taste. 

Next time, I will try using quinoa flakes in place of the rolled oats.  With these substitutions, this has been very forgiving recipe with whatever ingredients on-hand!


Half-Sugar Strawberry Rhubarb Crisp with Chia seeds - Whole wheat or Gluten-free

Filling:
1/2 cup sugar (I used 1/3 cup sugar)
3 Tbsp whole wheat flour or cornstarch (I used 1 Tbsp chia seeds + 2 Tbsp arrowroot starch)
3 cups quartered strawberries
3 cups diced rhubarb (about 1/4-1/2-inch chunks or about 1.5cm)
1/4 tsp cinnamon

Topping:
2/3 cup rolled oats (I will try quinoa flakes next time!)
1/3 cup brown sugar, packed (I used 1/4 cup)
1/4 cup whole wheat flour (or your fave gluten-free baking mix*)
1 Tbsp butter, melted (I needed to use 3Tbsp melted butter with the gluten-free flour)
dash of cinnamon

Mix first 5 ingredients for the fruit base. Pour and spread evenly in a 2.5qt/L dish.

Mix topping ingredients, spread evenly over the fruit base.

Bake at 350F for 45 - 55 minutes until bubbly.

Serve warm or at room temperature.  With ice cream is good too.  

- Adapted from SparkRecipes: Strawberry Rhubarb Crisp

*As for the gluten-free baking mix, I tried  Bob's Red Mill Gluten-free All-purpose flour mix for a different recipe and I didn't like it.  It had a strong (nasty) aftertaste, due to the bean flour added to it.  To salvage this, I used 2 Tbsp of Bob's GF flour, 1 Tbsp rice flour, 1/2 Tbsp tapioca starch and 1/2 Tbsp potato starch to make up 1/4 cup flour.  Gluten-free flour mixes usually have a combination of rice flour, tapioca and potato starches. 


 We served our strawberry rhubarb crisp with homemade vanilla bean ice cream. YUM!

Enjoy!
Pin It
Thursday, August 2, 2012

Strawberry Rhubarb Pie


I am very happy with my rhubarb plants this year.  So far, I managed to freeze a bunch of rhubarb for later use, where I normally make strawberry rhubarb coffee cake from an old 1970's recipe book.  My latest challenge is making strawberry rhubarb pie.

Yesterday, I harvested about 3lbs, which means I have plenty of rhubarb to play around with!  My last strawberry rhubarb pie was a tasty hot mess. It looked gorgeous when I pulled it out of the oven, but was very watery when I tried to serve it.  My children and husband were so gracious and kind. They declared it to be the tastiest strawberry rhubarb pie they had. 

I found a simple recipe from Serious Eats with a trick to keep the pie from being too watery.  It says to add 1/4 cup of sugar to the cut rhubarb and strawberries, let it sit for an hour or so and then drain the liquid off.  (I saved the drained strawberry rhubarb juices and added some club soda for a neat refreshing drink!).

I used 3 cups of strawberries and 3 cups of rhubarb for my pie and drained a little over 1/4 cup of excess liquid!


Next, the recipe uses tapioca or cornstarch but I wanted to try instant tapioca.  I bought a few scoops of it from the bulk food section of my supermarket.  The brand name is Minute Tapioca, but for over $3/box, I thought I'll try out a few scoops for pennies instead.  


I wasn't sure if the instant tapioca would dissolve properly in the pie, so let it sit with the fruit and sugar for 10-15 minutes to soften the tapioca grains. 


hehehe, I like making "rustic" imperfect pies with thick crusts.  It's hard to concentrate when the kids were hovering around me.  I put it in the oven at 400F for 15 minutes, then turned it down to 350F for another 30-40 minutes. 


Boy, was it a juicy pie!  Not very pretty but it only means that I need more practice!  I didn't put a pan underneath to catch the drips, so some of the juices bubbled over and made a little mess on the bottom of my oven.  The instant tapioca thickened the juices nicely.  The hardest part was waiting for the pie to cool and for the filling to set nicely.  I made this at lunchtime so it would be ready to serve after dinner.


It was not runny at all!  Success!!!  The pie was very tasty but an extra tablespoon or 2 of sugar would be good, since some sugar was lost in the drained liquid.  If the rhubarb did not exude so much liquid, then less sugar would be lost. My kiddies enjoyed this so much they wanted pie for breakfast!  I think this method would also work for frozen strawberries and frozen rhubarb.  Still work in progress but at least it is a yummy adventure!

Strawberry Rhubarb Pie

One recipe of your favourite double-crust pie dough 
3 cups sliced strawberries
3 cups rhubarb, cut in 1/2-inch pieces
3/4 cup sugar (or less/more to taste), divided (If more than 1/4 cup juices drained, add extra 2 Tbsp with the cornstarch)
4 tablespoons cornstarch or tapioca starch (I used instant tapioca)
egg wash (1 egg yolk beaten with 1 tsp water)
turbinado sugar for sprinkling (optional)

Preheat oven to 400° F. Core and quarter strawberries. Chop rhubarb into 1/2 inch pieces.

Toss strawberries and rhubarb together with 1/4 cup of sugar, and allow them to macerate (the sugar will begin to break down the fruit, releasing some liquid) for 20 minutes.

Drain off excess liquid from the strawberry mixture using a china cap or strainer.

Whisk together remaining 1/2 cup sugar and cornstarch or tapioca starch. Add the sugar mixture to fruit mixture. Stir well until all of the starch has dissolved.  Pour filling into prepared, chilled dough shaped in a pie plate.

Place the chilled, rolled top crust over the filling. Trim the edges and crimp as desired. Cut slits or patterns in the top with a sharp pairing knife. Chill for 20 minutes before baking.

Apply egg wash to the top of the pie and, if you'd like, sprinkle with turbinado sugar.

Bake for 15 minutes at 400F, then reduce temperature to 350F and bake for an additional 25 to 30 minutes.  Bake until the top is a deep golden brown and filling is bubbling in the center.  Allow pie to cool for several hours before serving.


Enjoy!
Pin It

Basic Buttery Pie Crust

Pie crust has been something I was never able to make ever since I moved to 100 Mile House.  When I lived in Vancouver, it was never a problem.  Years later, I finally had my "A-ha!" moment and realized that humidity was a big factor.  In 100 Mile, the humidity is much drier than Vancouver, so the flour's moisture content plays a big role.   


My problem was that my dough always came out very tough and rock hard!  The culprit was too much water, hence a hard, tough crust.  Normally, I dumped some of the water to the flour, mixed it around for a few seconds and kept adding water til it stuck together. 

For some reason, I realized that I had to be more patient when incorporating water in the crust. What worked for me is to add 4Tbsp cold water first and mix with a fork for at least 15-20 seconds to make sure the flour absorbs the water properly.  Then add cold water 1 Tbsp at a time, tossing the mixture around for at least 10-15 seconds before adding the next tablespoon water until shaggy bits of dough formed.  If the shaggy dough bits stick together when you squeeze it with your fingers then the dough has enough water.  I never did that before and ended up adding considerably more water than the recipe called for, which led to a tough, hard crust. 

I figured that basic pie crust recipe from the Crisco shortening box was a good start.  There are good crust recipes out there that use egg ,vinegar, more fat and flour.  I didn't want to waste any more ingredients if my crust turned out to be another disaster!  I like to use a combination of both butter and shortening.  It is personal preference and taste.  I love the taste of butter in pie crusts and the texture of shortening in the crust.  I think you could interchange your favourite pie fat in this recipe.  I'll try coconut oil when I run out of shortening.


Basic Buttery Pie Crust
- Adapted from the recipe on the Crisco shortening box
 
2 cups all-purpose flour
1/4 tsp salt
3 Tbsp sugar
1/2 cup butter
1/4 cup shortening
4-8 tablespoon ice cold water (I needed 8 Tbsp)

Blend flour, sugar and salt in medium bowl. Cut in shortening (and butter) using pastry blender (or 2 knives) until all flour is blended in to form coarse crumbs with pea-size chunks. 

Sprinkle with 4 Tbsp (60mL) ice cold water over flour mixture.  Using a fork, stir and draw flour from bottom of bowl to the top; press chunks down to bottom of bowl with fork.  Add more water by the tablespoon, mixing until dough holds together.  This is when the shaggy bits of dough holds together when you squeeze it.  

Divide dough in half, one ball slightly larger than the other.  Flatten ball into 1/2 inch (1.5cm) thick disks, wrap in plastic wrap and chill for 30 minutes or up to 2 days. (or throw it in the freezer for later use).

Place larger disk of dough on lightly floured work surface.  With floured rolling pin, roll dough outward from centre into circle 1 inch wider than pie plate.  Transfer dough into pie plate without stretching and trim evening around plate.  Fill unbaked pie crust according to recipe.  

Roll top pie crust; lift onto filled pie.   Trim dough to 3/4-inch overhang; fold top crust under bottom dough edge.  Press edges together and flute.  Cut slits in top crust.  Bake according to recipe directions.  


YUM!  I like the sides of my crust thick. With the butter, the thick part has a shortbread-like crunch that is addictive.  I didn't realize that pie making is so subjective! 


Enjoy!
Pin It

Tuesday, April 24, 2012

Mini Cheesecakes

I am a proud mom and wife today!  We took our two oldest children to their first piano recital and had quite the morning.  Daddy and son rocked their duet performance.  Funny how all those years of piano lessons have come full circle.  Who knew that we would be playing piano duets with our children? My son had a great time and told us that he wasn't nervous at all... he was with his Daddy.  What a precious moment. 

My beautiful 4-year old daughter looked like a little China doll in her pretty pale pink, polka-dot dress. Our Mother and Daughter duet stole the show...without playing a single note!  My little doll was struck with stage fright.  Her eyes were as big as saucers when she saw the huge hall, the grand piano and all those people in the audience.  We managed to get to the stage and sit at the piano, but she shut down and could not play her song.  Ironically, she was the one who wanted to perform, not me!  Maybe in the future, I will be able play the duet with my daughter when she is ready.  


To celebrate such a great performance, I made mini cheesecakes with a raspberry topping.  I normally use canned cherry pie filling, but I had some frozen raspberries to use up.  This easy recipe has been a family favourite for almost 10 years!

 
One batch makes 48 mini muffin-sized or 12 regular muffin-sized cheesecakes.  I only had enough ingredients to make a half batch or 24 mini cheesecakes with my mini-muffin pan.  
 

I used paper liners about 1.25" in size for the mini cupcake pan.  Pretty small!  


Instead of Nilla wafers, I tried Digestive biscuits.  I normally use animal crackers, graham cracker or Oreo cookie crumbs.


I put 3-4 broken up biscuits into my mini food processor.  Gave it a whirl to make about 1/2 cup of crumbs.   I used my fingers to break up some of the bigger chunks.  This step can be skipped if you use graham cracker or Oreo cookie crumbs.

 
Use only 1/2 tsp. crumbs for a mini-muffin pan.  The bottom crust would get very crumbly if too much is used.  


I softened the cream cheese at room temperature for an hour, but I wasn't sure if it was soft enough, so I warmed it in the microwave for 20-30 seconds.  The slightly warmed cream cheese mixes better with the sugar, egg and vanilla for a smooth, lump-free batter.

  
The batter was pretty runny.  I found it easier and quicker to use a mini-ice cream scoop to fill each cavity. 


Bake at 350F for 15 minutes.  The cheesecakes puffed up and had a few cracks.  They were were easily hidden with some fruit topping!

Mini Cheesecakes

Makes 48 mini or 12 regular muffin-sized cheesecakes

1 (12 ounce) package vanilla wafers, animal crackers, graham cracker crumbs or other sweet biscuits
2 (8 ounce) packages cream cheese, softened to room temperature
3/4 cup white sugar
2 eggs
1 teaspoon vanilla extract
1 (21 ounce) can cherry pie filling, or 1/2 cup thawed frozen berries with 1-2 tsp sugar

Preheat oven to 350 degrees F (175 degrees C). Line miniature muffin tins with miniature paper liners. 

Crush the vanilla wafers or sweet biscuits, and place 1/2 teaspoon of the crushed cookie crumbs into each paper cup. 

In a mixing bowl, beat cream cheese, sugar, eggs and vanilla until light and fluffy. Fill each miniature muffin liner with this mixture, almost to the top. 

Bake for 15 minutes. Cool. Top with a teaspoonful of fruit filling of your choice. 


I'm happy.  The children proclaimed that they were "SOOOO GOOOOD".  

 Enjoy!


Pin It

Sunday, April 1, 2012

Vanilla Chiffon Sponge Cake


I had some gorgeous fresh, farm eggs and some whipping cream in the fridge.  I haven't baked a cake in a while, but since I had these wonderful ingredients on hand, it would be a shame not to make a Chinese-style cake!  While the kiddies were (quietly!) playing puzzles, I took the opportunity to whip this up in my KitchenAid mixer. 
  
A classic Chinese-style bakery cake is a sponge cake that has a fruit or mousse-like filling, real whipped cream and fresh fruit decorations.  This was the kind of cake my mom made for our birthdays when we were growing up. 

I remember helping my mother decorate our birthday cakes.  She would bake the sponge, whip the cream and I would help decorate.  At the age of 10, my mother let me pipe luscious swirls of whipped cream and artistically place sliced fresh or canned fruit on top.  As the years passed, the cakes became an elaborate affair of fruit and whipped cream!  I can't believe that in a few years, I will be repeating this tradition with my little ones.  

Mom's sponge cake was always heavenly.  Although it tasted good, it would collapse after she pulled it out of the oven and we would simply hide the imperfections with whipped cream and fruit.  Because her recipe used 9 eggs per cake, I needed something lighter.  I have been searching for a recipe like the commercial Chinese bakeries, but I had found out that many of the popular bakeries use a sponge cake mix, filled with emulsifiers and preservatives.

Little did I know that my Betty Crocker cookbook (that I had for almost 20 years) had the sponge cake recipe that I was looking for!  It was a relatively straight forward recipe, considering that I had made so many different kinds of cakes to re-create those of the Chinese bakeries and my childhood.

This is my go-to recipe!  The hardest part is separating the egg whites and yolks.  I only use cake flour to get the tight sponge crumb texture like that of the bakeries.  All-purpose flour is OK, but since I was trying to re-capture my fond foodie memories, only cake flour will do. Due to the baking powder, I didn't have to worry about deflating the egg whites while folding.  The baking powder is there as a fail-safe measure, so I know that it will rise!

The original recipe says to use 1 angel food cake pan.  I prefer to split it up in two tube pans for two reasons:  1) you get 2 cakes; and 2) it bakes in about half the time.  Today, I used two 10" round pans and one 10" springform pan, all lined with parchment paper.  I had to adjust the time considerably, about 15 minutes, but it depends on the oven and pans used.  I usually freeze the extra cake for another occasion.


Vanilla Chiffon Cake

2 cups all-purpose flour, or 2 1/4 cups cake flour
1 cup granulated sugar
3 teaspoons baking powder
1/4 teaspoon salt
3/4 cup milk or water
1/2 cup vegetable oil
2 teaspoons vanilla
7 egg yolks (or 5 if using cake flour)
1 cup egg whites (8 eggs)
1/2 teaspoon cream of tartar

Move oven rack to lowest position. Heat oven to 325°F. In large bowl, mix flour, sugar, baking powder and salt. Beat in cold water or milk, oil, vanilla and egg yolks until smooth.

In large bowl, beat egg whites and cream of tartar with electric mixer on high speed until stiff peaks form. Gradually pour egg yolk mixture over beaten egg whites, folding with rubber spatula just until blended. Pour into 2 ungreased 10-inch angel food (tube) cake pans.

Bake about 25-30 minutes or until top springs back when touched lightly. Immediately turn pans upside down onto heatproof funnel or bottle. Let hang until completely cool, about 1-2 hours. Loosen side of cake with knife or long, metal spatula; remove from pans. 

Adapted from: Betty Crocker's Lemon Chiffon Cake 

Vanilla Whipped Cream

Beat 1 cup whipping (heavy) cream, 3 tablespoons powdered/ icing sugar and 1 teaspoon vanilla in chilled medium bowl with electric mixer on high speed until soft peaks form.

Betty's Tip: Well-chilled cream will whip the best, so keep it refrigerated until ready to use. It also helps to chill the bowl and beaters before you begin. When the cream begins to thicken as you beat it, reduce the mixer speed so you can watch carefully and beat just until soft peaks form. Overbeaten cream will look curdled.


- Adapted from Betty Crocker's Sweetened Whipped Cream

Be careful not to over beat the whipped cream, as it will turn into butter!  I like using icing sugar because it has cornstarch in it.  The cornstarch helps stabilize the whipped cream so it can retain its shape when piped.  

This basic sponge cake and whipped cream is very versatile.  Today, I filled my cake with vanilla whipped cream and placed canned fruit cocktail (drained and blotted dry) in the middle layer on top of the cream.   


For a 2-layer 10" cake, I used 1 1/2 cups whipping cream, 4 1/2 Tbsp icing sugar and 1 1/2 tsp vanilla extract.  This amount makes enough to frost, fill and pipe some swirls on top of the cake.  I used a Wilton 1M star tip for cupcakes for piping.  


[Edited to Add:  Last year's picture of my middle child's birthday cake decorated with lots of fresh fruit, canned fruit cocktail filling.  I used two 9"x13" pans to make a 2 layer cake.]


Enjoy! 
Pin It

Friday, March 23, 2012

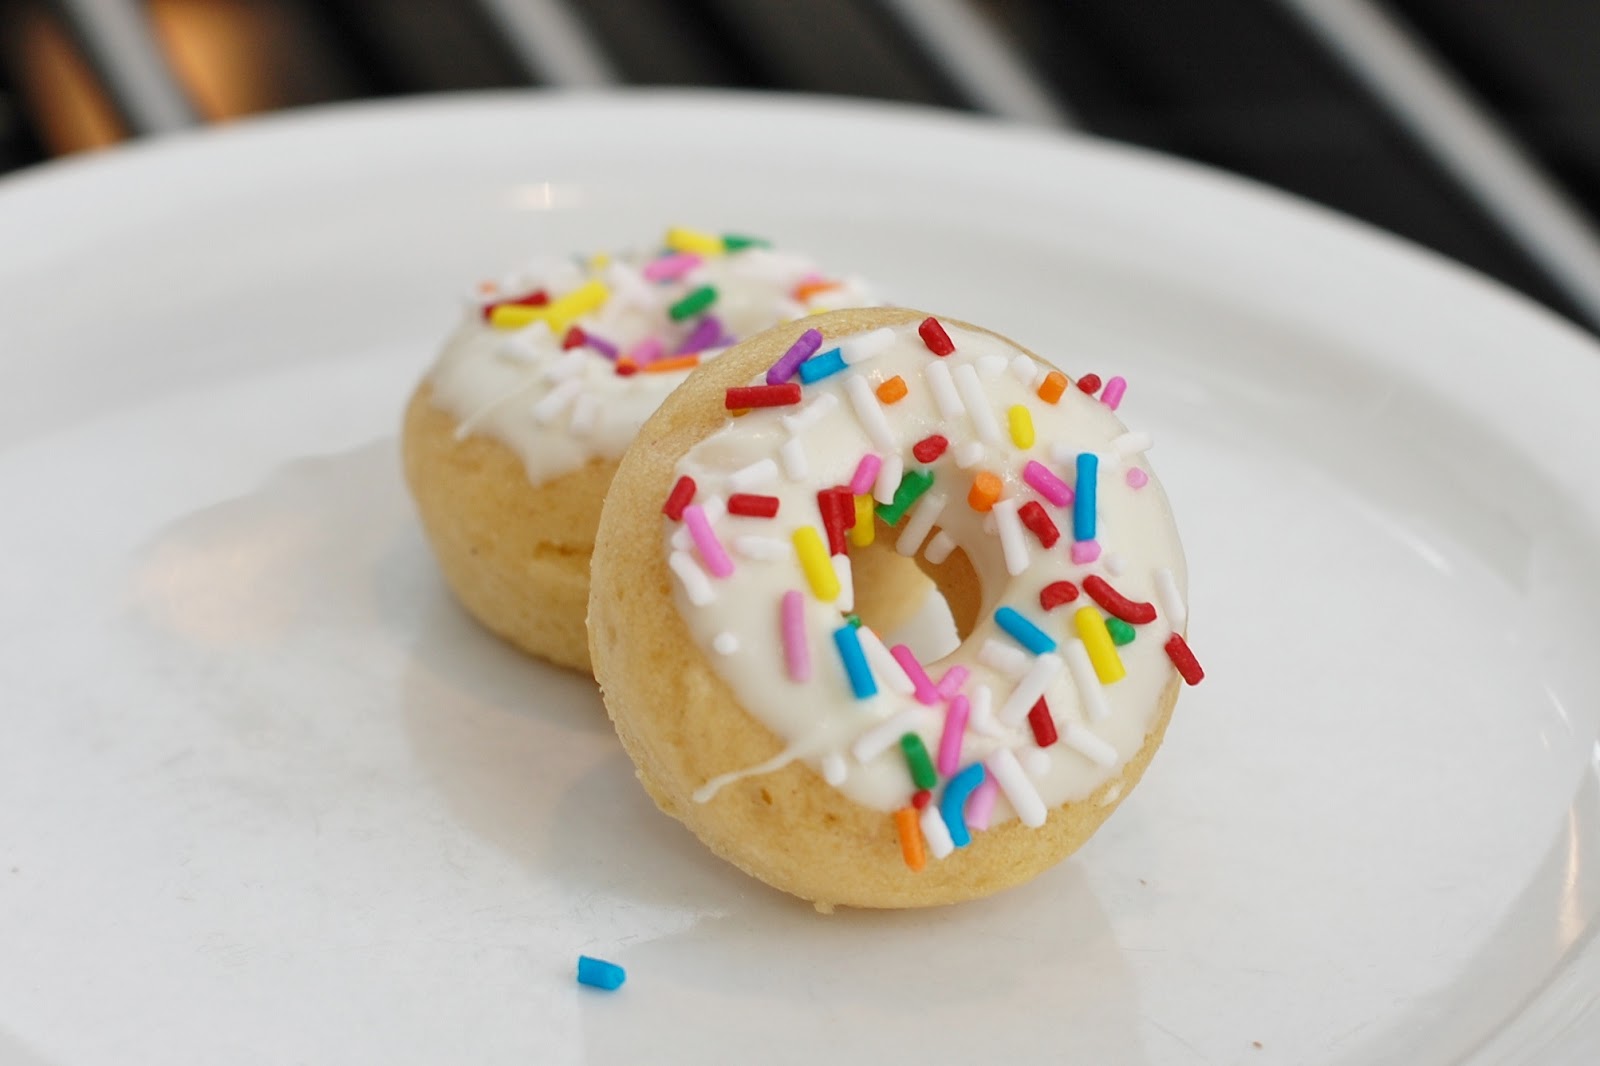
Baked Mini Donuts

There are only a few more days of Spring Break vacation left and I thought it would be nice to make a happy treat...with SPRINKLES!  


Baked mini donuts with sprinkles!  I am not brave enough to deep fry stuff so I bought 2 Wilton mini donut pans from Amazon.ca.  Each pan makes 12 small 1 1/2-inch mini donuts; perfect for the little hands in our household.  I would rather the kids eat a few of these than eat a few bites of a big one and leave it to waste (or mommy to finish). 

Using a piping bag, I was able to make 7 1/2 dozen mini donuts from this recipe. Since they are so fun to make, I will order 2 more pans.  The pans are not cheap (by my standards) at $16.99 each but factored over 5 years of school treats, playdates and potlucks, it's quite reasonable.  I am hoping that the pans last at least 5 years!  

The pan appeared to be a solid, high quality product and the non-stick finish felt pretty durable.


I didn't want to take any chances with sticking, so I brushed the cavities with softened butter.


I dumped all the ingredients into my KitchenAid mixer and mixed it up on medium speed until a batter formed. Then I put the batter in a pastry/piping bag for cake decorating.  The cavities were pretty small, so piping the batter made the whole process quick and effortless.   


The cavities were not quite filled with halfway and when baked for 4 minutes, they puffed up nicely to a perfect donut shape.   


Removing the donuts from the pan required a little bit of patience.  I used a butter knife to delicately lift each one out.  There were a few that didn't release immediately, so I waited a few minutes and then it slipped out.  Patience is the key!


My kiddies saw me take the first batch out and then immediately inhaled a dozen!  I still needed to decorate them with some melted chocolate and sprinkles!


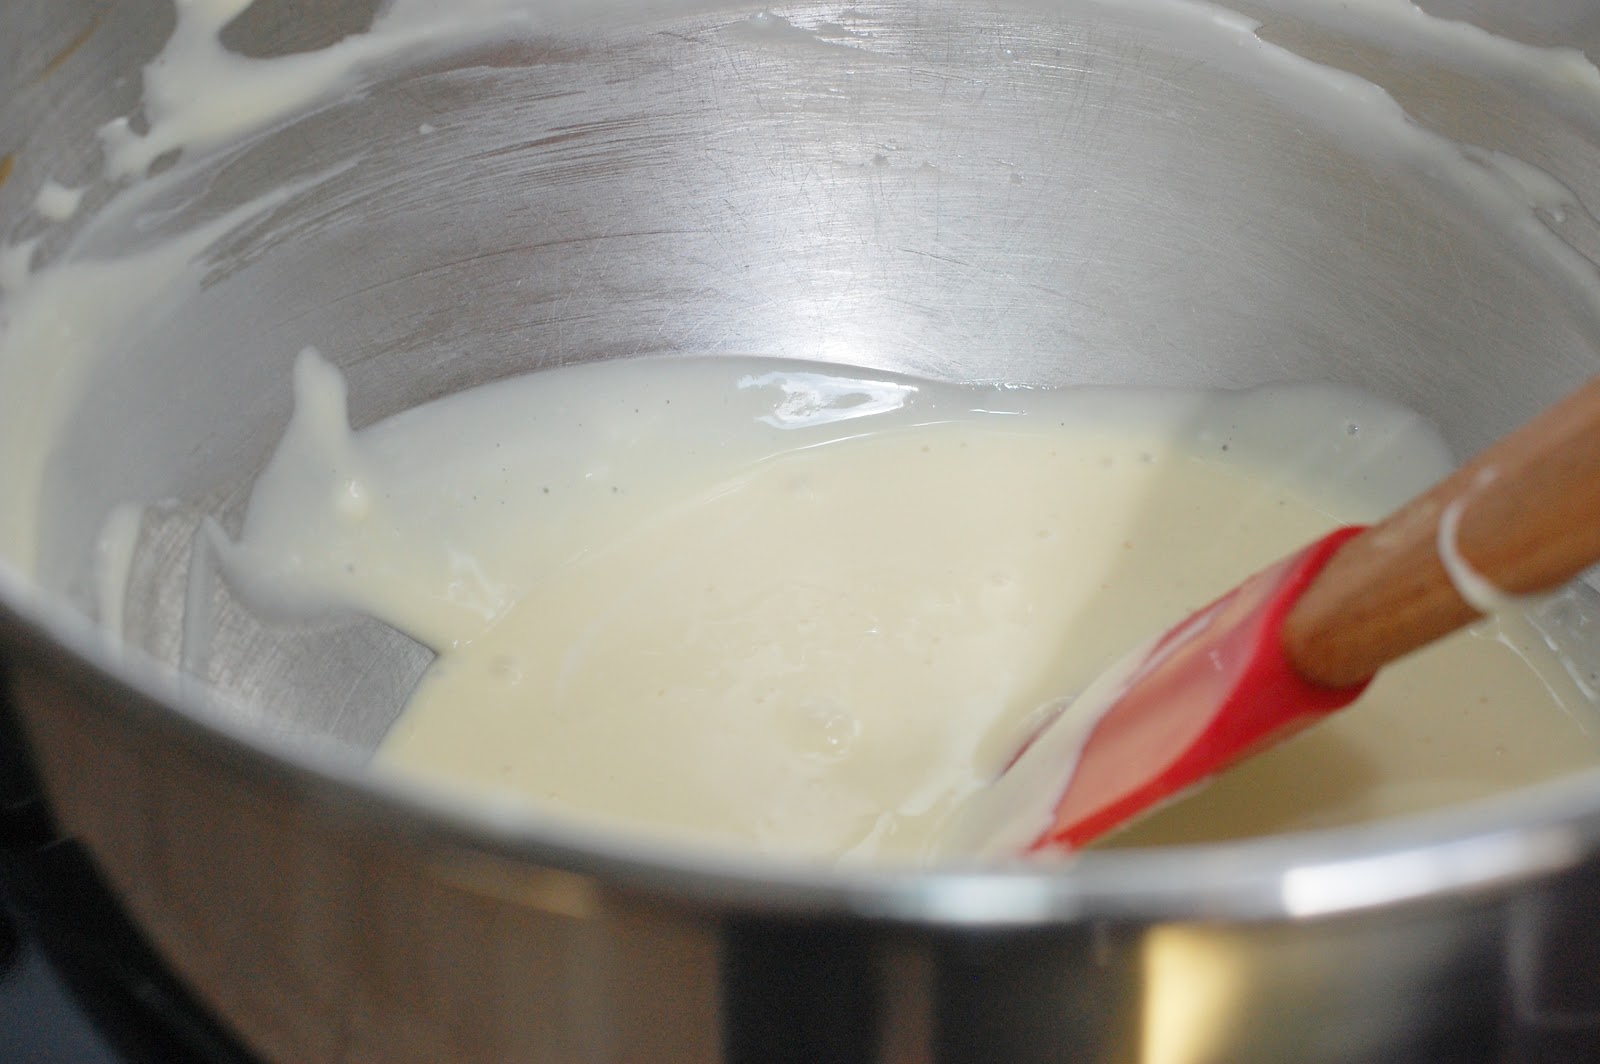
If I was to dip over 70 mini donuts, I needed a chocolate product that would dry quickly and be easy to melt and dip.  Wilton's Candy Melts were very nice to use.  I followed the microwave instructions and they melted in a matter of minutes.  I also used "melting wafers" from the bulk section of my grocery store and they were good too.  Chocolate chips were not designed to melt easily.  Rather, they were meant to retain their shape at a high temperature. The melted chocolate chips were too thick and gooey to dip efficiently, so I prefer candy melts or melting wafers.

Baked Mini Donuts

2 cups all-purpose flour
3/4 cup white sugar (I use 1/3 cup brown sugar & 1/3 cup white)
2 teaspoons baking powder
1/4 teaspoon ground nutmeg
1 teaspoon salt
3/4 cup milk
2 eggs, beaten
1 teaspoon vanilla extract
2 tablespoons melted butter 

Preheat oven to 325 degrees F (165 degrees C). Lightly grease a mini donut pan.
In a large bowl, mix flour, sugar, baking powder, nutmeg and salt. Stir in milk, eggs, vanilla and butter. Beat together until well blended.  

Fill each donut cup approximately 1/2 full. Bake 4 minutes in the preheated oven, until donuts spring back when touched. Allow to cool slightly before removing from pan. 

- Adapted from Allrecipes.com: Fluffy Cake Doughnuts


Don't these look scrumptious?


White melting wafers from the grocery store's bulk section.  Yes, the sprinkles make me happy!  


  Enjoy!


  Pin It