Wednesday, May 30, 2012

Bento Lunch Wednesday - May 30, 2012

Over the weekend, I had a little "date" with my girls.  My son had a birthday party to attend and it was only fair that they get to go to a little party of their own!  I promised that we could go to a cafe for a treat.  On the way to the local coffeeshop, we went to our neighborhood kitchen specialty store to browse around.  It was more of a social occasion to drop by and say "Hi" to the owner.  And the girls got a new star cookie cutter for their sandwiches!  


I think this is one of my cutest meals yet!   My toddler's lunch:  grilled ham and cheese star sandwich, ham roll-ups, organic red corn tortilla chips and mini red & green grape skewers. 


My preschooler has a bigger appetite, so I gave her more "lucky star" grilled ham & cheese sandwiches.


My Grade 1 "big boy" has the same lunch.  He likes his sandwiches cut "normal".  


Lunch was a hit!  Their boxed lunches came back EMPTY and Mommy is HAPPY!

For more great bento lunch ideas, check out Bento Lunch. Have a wonderful day!

Enjoy!
Pin It

Monday, May 28, 2012

Muffin Tin Monday - May 28, 2012

I used to hate Mondays.  I love them now.  It is the day after an awesome weekend filled with non-stop activity, birthday parties and family time.  Mondays can be a slow start, but since our family thrives on routine, the kids look forward to going to school and I look forward to cleaning up the weekend's mess!  

Poor hubby has no routine!  Since his work schedule is so erratic, I don't know where he is half the time.  Being a rural family doctor, he is either at the hospital ER, his office, the walk-in clinic, after-hours administrative meetings, at a medical course or off to deliver a baby!   We are very fortunate that daddy can work in the same town and does not have to be away from us for weeks at a time.  So yes, family time with mommy AND daddy is a special thing and not to be taken for granted.  

The kiddies really enjoyed lunch with daddy yesterday.  He had to rush off to deliver a baby in the middle of church but came home in time to share a Muffin Tin lunch. 


In our lovely muffin tin and silicone cups:  last night's baby corn, carrot and sugar pea medley, apple slices, organic red corn tortilla chips, crunchy & sweet green grapes, imitation crab, savory Caesar salad croutons and some sliced black olive & cheese bites.  It was a light lunch as the kiddies had some birthday cake beforehand. 


I really like our new weekend tradition where the children gather around our special picnic quilt and enjoy lunch together.  

For more great lunch ideas, visit Muffin Tin Mom!  Happy Monday!

Enjoy!
Pin It

Friday, May 25, 2012

Microwave Popcorn in a Glass Bowl

Last year I stumbled across Snack Girl's Homemade Microwave Popcorn and thought it was the neatest thing to put popcorn kernels into a plain (food grade) paper bag and microwave it.  We tried the paper bag trick several times.  Then, I started thinking about the added cost and the extra waste of these brown paper bags. 


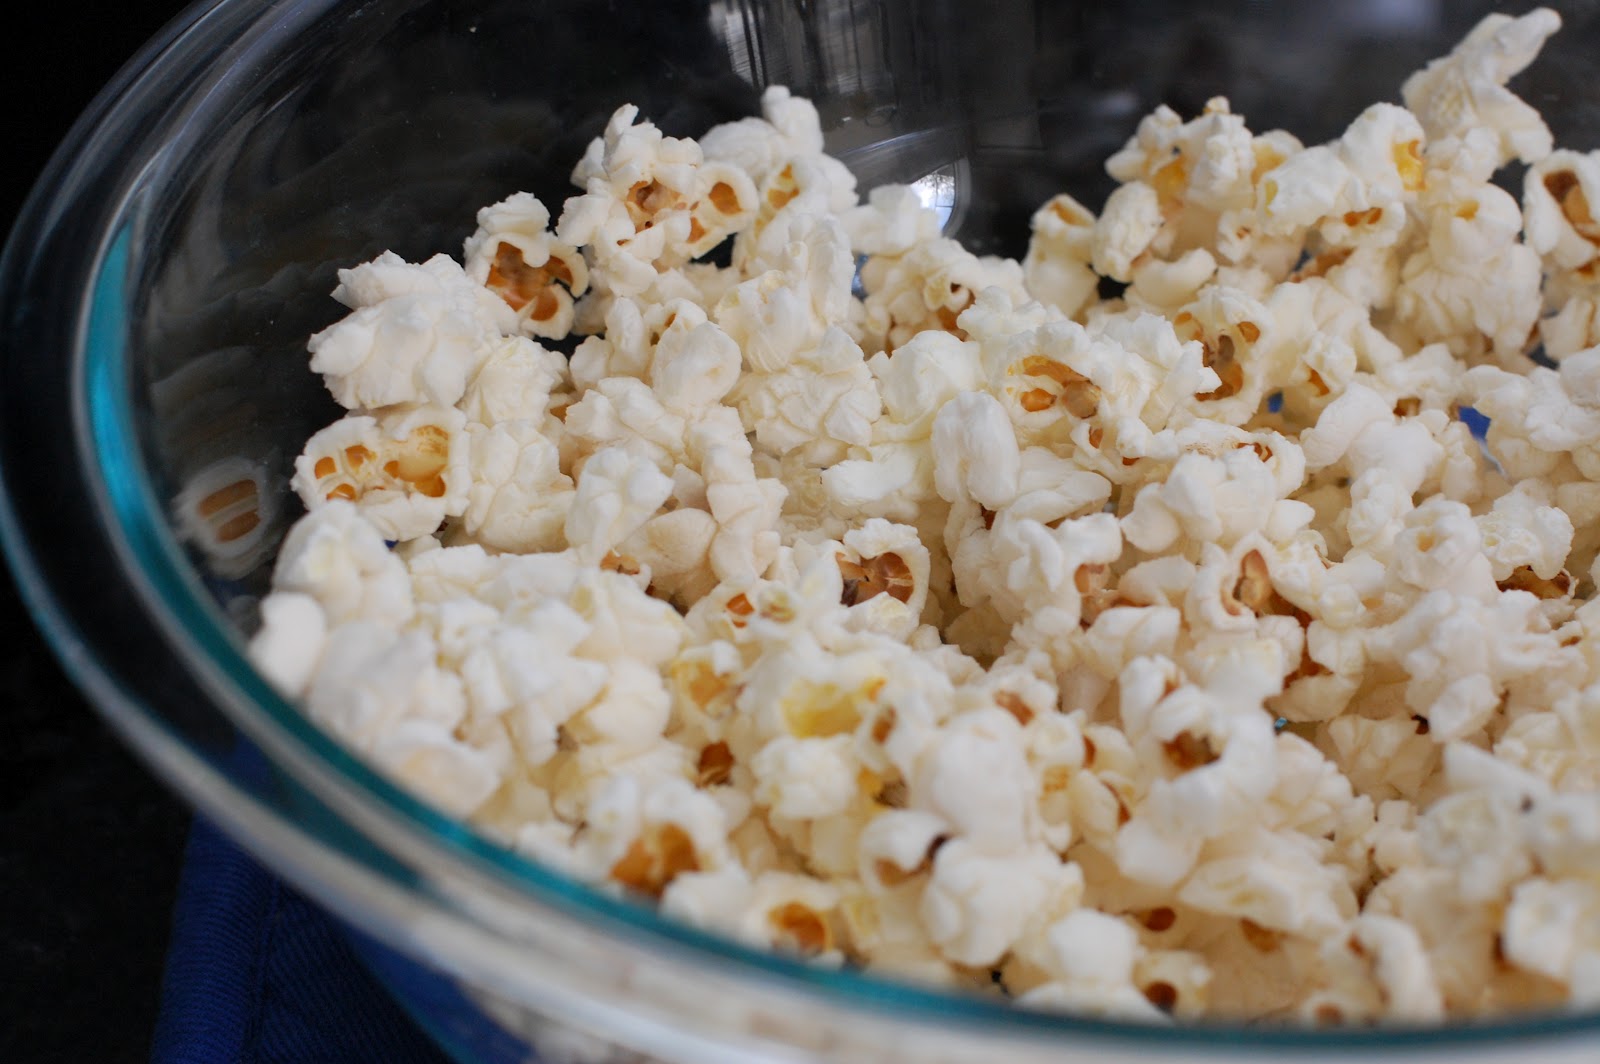
Out of curiosity, I used a large 2.4L/2.5 quart glass pyrex bowl, put in 3 tablespoons of corn kernel, and covered with a lightweight dinner plate (left a small vent for steam).  Within 5 minutes, I had microwave popcorn!


The largest glass bowl I had was a 2.4 quart glass bowl.  Any popcorn kernels will do.  When it is time to buy more popcorn, I will try organic non-genetically modified (GMO) popcorn.


Put in 3 Tbsp of popcorn in the bottom of the bowl.   


Cover the bowl with a lightweight dinner plate or glass lid.  (I love my new Corelle Iris set from Walmart!).  Leave a small gap to vent some steam.  Make sure the gap is not too big or else popcorn will escape!  Ready for the microwave!


Set the microwave for 5 minutes.  Popcorn is ready when the popping slows down to 5-10 seconds between pops.  For us, it usually takes about 4 min 30 sec.  


Done!  Success!


I like to use melted butter in popcorn.  No complaints from the kiddies!   Since the glass bowl is nice and hot, I just rub a pat of butter along the sides of the bowl to melt it.  Toss the popcorn around the melted butter.  You can use butter, extra virgin olive oil and other seasonings afterwards.   


I like to use a Herb and Spice sea salt blend in a salt grinder.  I ran out of the blend and made my own with coarse sea salt, rosemary, coriander and garlic dip seasoning (from our local garlic festival).  


Making microwave popcorn takes a few tries, even with the commercial stuff.  You don't want to overcook and burn the popcorn but you want to pop most of the kernels. It all depends on your microwave's personality, the thickness of the glass bowl and the thickness of the dinnerplate cover.  It took about 4 min 30 seconds for ours to pop.  If you use a paper bag, it takes less time to pop, as the heat penetrates the paper bag quicker than the glass bowl and lid. 

We don't have microwave popcorn all the time.  It's a nice thing to have 2-3 times in a month.  Yes, I have read the dangers of using the microwave.  Here's one article that I came across that has some good information to keep in mind (Microwave Hazards).  I like to read different sides of a story and decide from there. 

Glass Bowl Microwave Popcorn

3 Tbsp popcorn kernels
1 large 2.4Qt/2.5L glass bowl
1 large dinner plate or glass lid, large enough to cover the bowl but leave a vent
Popcorn seasoning of your choice:  butter, coconut oil, extra virgin olive oil, sea salt, etc. 

Place 3 Tbsp popcorn kernels in a large glass bowl.  Cover the bowl with a large dinner plate or glass lid.  Make a vent for steam to escape, approximately the width of a pinky finger.  Not too wide or the popcorn will escape!  

Microwave for 5 minutes or until there are 5 seconds between pops.  Do not burn the popcorn.  Microwave times depend the microwave, wattage, the thickness of the glass bowl and the thickness of the lid.  

Season popcorn as desired.  

 In case anyone is curious, I only had 8 unpopped kernels from this batch! 

Enjoy!


Pin It

Wednesday, May 23, 2012

Bento Lunch Wednesday - May 23, 2012

What a beautiful day in Cariboo Country!  The weather here is very volatile.  One day last week, I was shoveling manure and topsoil in the bright sunshine and the next moment, it was snowing and hailing!  Thank goodness it only lasted a few minutes.  It rained all weekend and now, the sun is emerging to give us that bright and sunny start to the day! 


This is the view of Horse Lake from our deck.  The rainy weather just makes you appreciate the sunny days even more! 

I find that with these sunny days, the children prefer to eat finger foods.  They are more efficient with their fingers, so they can get back to playing FAST!  So I guess, the theme is "finger foods".  I finally figured out that the older children LOVE ham and tomato sandwiches with mayo!  I keep trying different types of sandwiches because they are easy to make. My 2.5 year old is moody with sandwiches.  Lately, she has not been interested.  But she loves plain meat!  But I still offer a sandwich, because I keep trying. 


My toddler's lunch has red grapes, fresh sugar snap peas, ham sausage slices, ham and tomato sandwich and Caesar salad croutons.  I ran out of little crackers, so why not crunchy savory croutons?  


My older children's lunch:  red grapes, sugar snap peas, Caesar croutons and ham & tomato sandwiches. In time, I can add some lettuce or cucumber to their sandwiches.  I normally introduce new food by slowly adding one new thing to their favourite dishes.  

For more great bento lunch ideas, check out Bento Lunch. Have a wonderful day!

Enjoy!


Pin It

Tuesday, May 22, 2012

Honey Whole Wheat Banana Muffins

I told my kids that the brown spots on ripening bananas were "brown sugar spots".  The more spots, the sweeter they are... and that's how I got my kiddies to eat bananas as they ripened.  So if I want to make banana bread or banana muffins, I have to hide my ripe bananas or else they would be all gone!


I had 4 bananas that were ripe for baking.  I was inspired by my friend's gorgeous Banana Chocolate and Peanut Butter Muffins!  Alas, I am allergic to chocolate and hubby and the kids are allergic to peanuts.  Instead of chocolate and peanut butter,  I used different ingredients.  My last batch of whole wheat blueberry bran muffins turned out really good and moist, so I'll go whole wheat again.

I used a basic whole wheat banana bread recipe and made my modifications from there.  I wanted to use whole wheat flour, wheat germ, ground flaxseed, buttermilk, honey and coconut oil.  For more information about coconut oil, visit Dr. Oz's article on the Benefits of Coconut Oil.  

The result?  A very pleasant, not too sweet, moist and healthy banana muffin that my family enjoyed.  I will make this one again.  

If you are expecting a super fluffy, sugary sweet and intense banana flavoured muffin/cupcake, this is not it.  I told hubby that the muffin has the taste of honey whole wheat bread with a kiss of banana.  I find that the banana flavour intensifies when they are super ripe and a lot of sugar is added.  


Honey Whole Wheat Banana Muffins

1 ½ cups whole wheat flour
½ cup wheat germ
2 Tbsp ground flax seed
1 tsp cinnamon
1 tsp baking soda
1 tsp baking powder
1 large egg
1/3 cup honey
1/3 cup buttermilk
1 tsp vanilla extract
¼ cup canola oil, melted butter or coconut oil, melted (I used coconut oil)
4 bananas, mashed (between 1-2 cups)

Preheat oven to 400F

Mix all dry ingredients together.  Add egg, honey, buttermilk and vanilla to the dry ingredients.   Add bananas and melted coconut oil.  Mix until the ingredients are well blended together. 
  
Scoop batter in 12 muffin tins, each about ¾ full. 

Bake about 12-15min until done. Check the muffins around 10-12 minutes. Mine were done at 12 minutes.   

- Adapted from 100 Days of Real Food:  Whole Wheat Banana Bread


 Enjoy!
Pin It

Monday, May 21, 2012

Muffin Tin Monday - May 21, 2012

Today is Victoria Day, which is a Canadian public holiday to commemorate Queen Victoria's birthday.  Since the kids do not have school, this is generally the first weekend to kick off camping season!  We didn't go anywhere far this long weekend.  Hubby had a maternity patient that was due any day now, so we stayed home for a nice relaxing weekend. 

For this week's Muffin Tin Monday, I thought it would be nice to pack a nice picnic lunch!  It was overcast and cloudy, but that didn't stop us from going out to enjoy family time together.

I grabbed my trusty Tupperware container, got some silicone muffin cups and started scrounging around the fridge and pantry.  Luckily, I had some nice leftovers from yesterday's breakfast and dinner.  


I packed some leftover breakfast sausage, cheerios, last night's asparagus & carrot stirfry, oven roasted corn, fresh sugar snap peas, marble cheese slices and red grapes.

  
What a tasty lunch!
 

Ready to go!  During transport, some of the food fell out of the liners and some of the food got jumbled around.  Next time, I'll have to find a container that fits food tighter to keep everything in its place.

The long weekend went by pretty fast. The kiddies enjoyed a nice outing the other day on our beach at Horse Lake, BC.  We grabbed our camping chairs, packed a lunch and enjoyed what nature had to offer. 


For more great lunch ideas, visit Muffin Tin Mom!  

Enjoy!
Pin It

Thursday, May 17, 2012

100% Whole Wheat Chocolate Chip Cookies

Here is another classic treat in our household:  whole wheat chocolate chip cookies.  I used the famous Toll House cookie recipe and changed it a little.  I couldn't help myself. I made them with whole wheat flour!  


I have seen many chocolate chip cookie recipes that use a blend of whole wheat and all-purpose flour.  Instead, I used all whole wheat flour and omitted the salt. 

Ever since I made them 100% whole wheat, it has been my reliable and most trustworthy chocolate chip cookie recipe for over 5 years.  The true test was when I made these cookies for my son's 4th birthday party, over 3 years ago.  I baked these cookies and the children ate them without noticing that they were whole wheat!  
  
It helped that I put one Smartie candy in the middle of each cookie.  No complaints at all!  They still have loads of fat and sugar, so consider them a heartier treat. 

  
Whole Wheat Chocolate Chip Cookies

2 1/4 cups whole wheat flour
1 teaspoon baking soda
1 cup (2 sticks) butter, softened (I used 1 cup soft non-hydrogenated margarine)
3/4 cup granulated sugar (I used 1/2 cup granulated sugar)
3/4 cup packed brown sugar (I used 1 cup brown sugar)
1 teaspoon vanilla extract
2 large eggs
2 cups (12-oz. pkg.) chocolate chips (I used 1 cup chocolate chips)
1 cup chopped nuts (optional, I omitted)
Preheat oven to 375° F.

Combine flour, baking soda and salt in small bowl. Beat butter, granulated sugar, brown sugar and vanilla extract in large mixer bowl until creamy. Add eggs, one at a time, beating well after each addition. Gradually beat in flour mixture. Stir in chocolate chips (and nuts, if using). Drop by rounded tablespoon onto ungreased baking sheets.  At this point, I added 1 Smartie candy to each cookie before baking. 

Bake for 9 to 11 minutes or until golden brown. Cool on baking sheets for 2 minutes; remove to wire racks to cool completely.  

 
Within a day, they were all gone!  We ate some and then shared the rest with our wonderful friends.  
Can you find the cookie with the hidden wink and smile?

Enjoy!
Pin It